Organizing a craft space can feel overwhelming, especially when dealing with limited room dimensions and a abundance of supplies. Many crafters struggle with clutter, making it difficult to find inspiration or efficiently access their tools. Whether you’re working with a tiny corner of a room or an entire dedicated craft area, the challenge lies in maximizing functionality without sacrificing style. This guide offers practical tips and innovative solutions to transform even the most cramped spaces into organized havens, ensuring your crafting supplies are accessible and your workflow remains smooth. From budget-friendly hacks to clever storage ideas, we’ll explore how to create a craft space that works for you, no matter the size. Let’s dive into the essential strategies for organizing your craft area and unlocking its full potential.
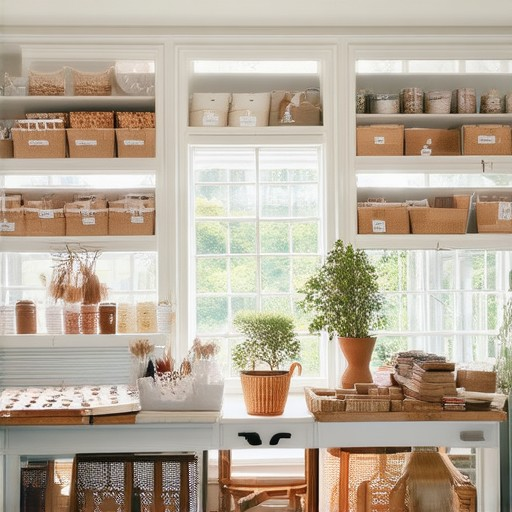
How to Organize Your Craft Area
Organizing your craft area can significantly enhance productivity and reduce stress. Here’s a step-by-step guide to creating a functional and inspiring workspace:
- Assess Your Space:** Evaluate the size and layout of your craft area. Determine what items you frequently use and what can be stored away.
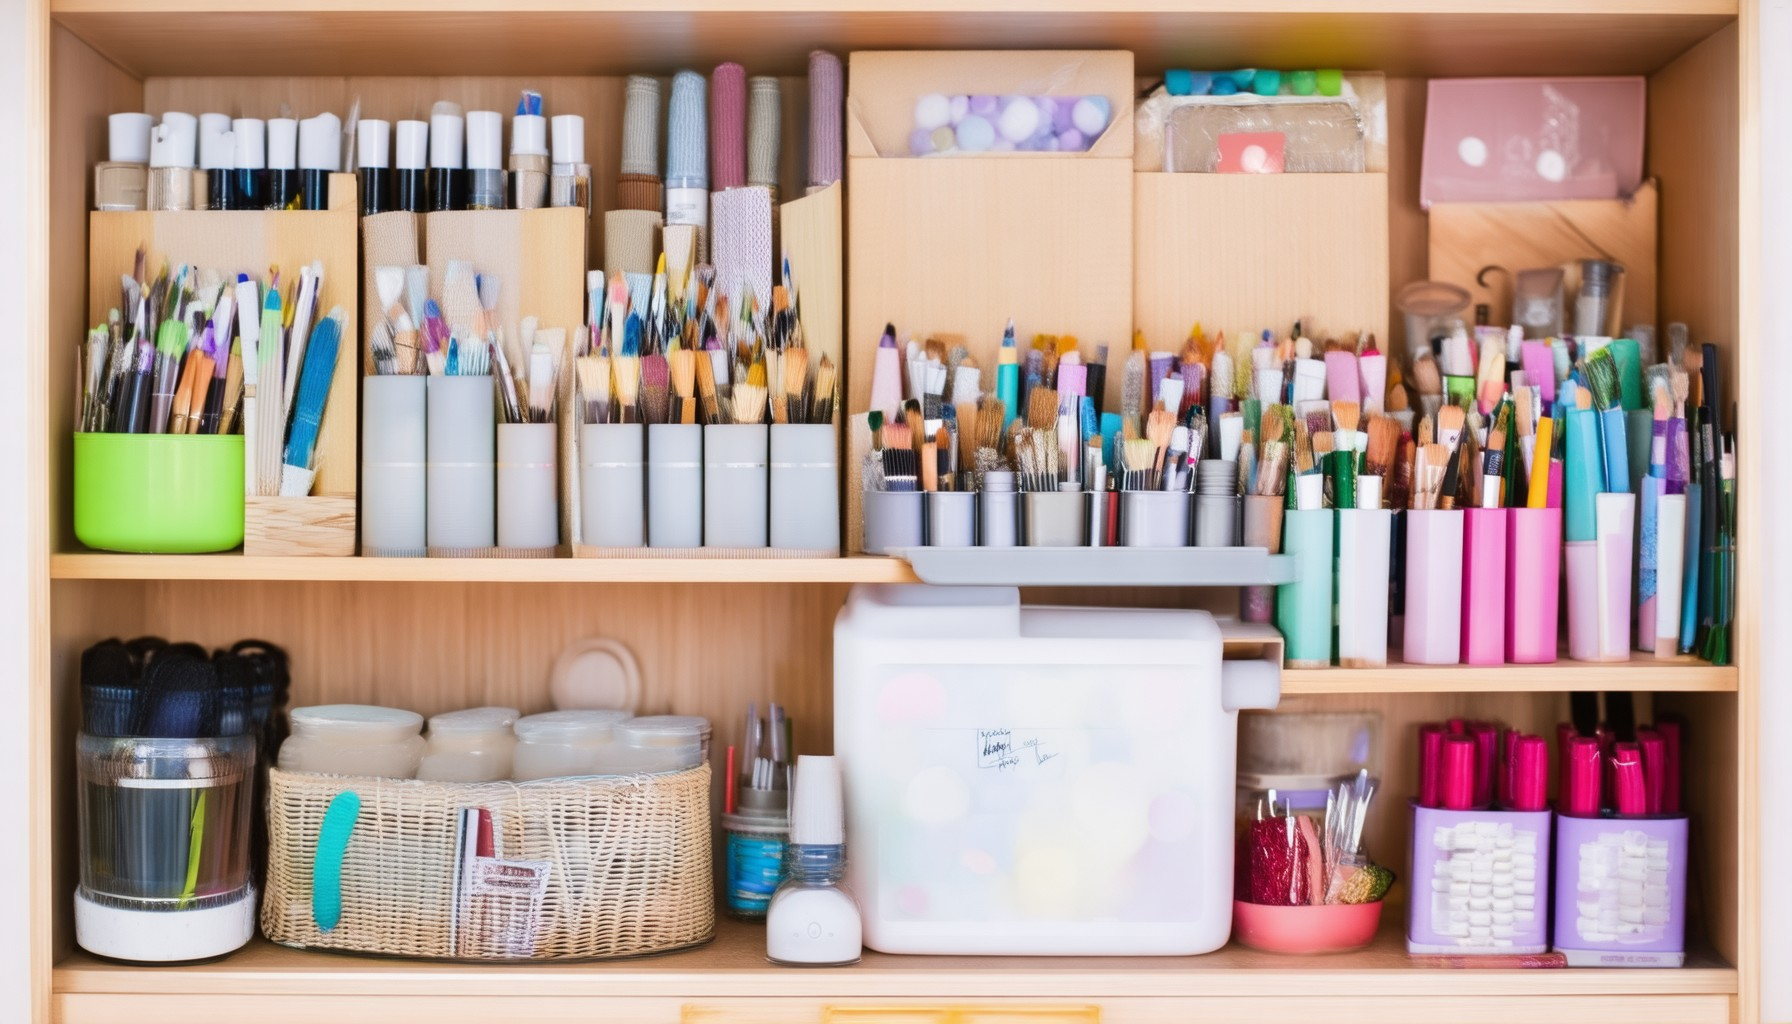
- Invest in Storage Solutions:** Use open shelving, drawer organizers, and wall-mounted storage to maximize space. Label bins and containers for easy access.
- Create a Dedicated Workspace:** Set aside a table or workbench for projects. Keep scissors, glue, and other tools within arm’s reach.
- Lighting Matters:** Ensure adequate lighting, preferably task lights, to illuminate your work area and minimize shadows.
- Label Everything:** Use clear labels on bins, containers, and toolboxes to quickly find what you need.
- Keep Finished Pieces Stored Separately:** Designate a shelf or box for completed projects to prevent clutter.
- Clean Regularly:** Schedule daily or weekly cleaning sessions to maintain order and prevent messes.
- Stay Safe:** Store flammable materials and sharp tools securely, away from heat sources and children.
- Get Inspired Online:** Explore craft room ideas on platforms like Pinterest or YouTube for inspiration.
- Personalize Your Space:** Add personal touches like artwork or organizational charts to make the space feel unique and motivating.
How to Declutter When You Are a Crafter
Decluttering your crafting space can feel overwhelming, but it’s a crucial step to boost productivity and creativity. Here’s a step-by-step guide to help you tackle clutter effectively:
- Declutter Your Workspace First
- Toss Unnecessary Supplies
- Organize Your Tools
- Create a System for Materials
- Utilize Vertical Storage
- Regular Maintenance
Start by clearing your desk or work area. Remove anything that doesn’t belong there, such as unrelated bills, shoes, or personal items. Keep only what you need within arm’s reach.
Go through your craft supplies and discard items you no longer use or need. This includes broken tools, expired materials, or items you’ve accumulated but never used. Consider donating or recycling items that aren’t useful anymore.
Use containers or storage solutions to keep your supplies tidy. Label boxes or drawers so you can easily find what you need. Consider using drawer organizers for small items like beads, scissors, or fabric scraps.
Sort your materials into categories based on their type or project purpose. For example, keep fabrics separate from papers or yarn. This will make it easier to locate what you need when starting a new project.
Maximize your space by using vertical storage options like shelves or wall-mounted racks. This is particularly useful for items like craft books, foam core boards, or long strands of ribbon.
Set aside time weekly to declutter and organize your workspace. This prevents clutter from building up again and keeps your creative space fresh and inviting.
By following these steps, you’ll create a more efficient and inspiring crafting environment. Remember to regularly assess and update your space to maintain order and productivity.
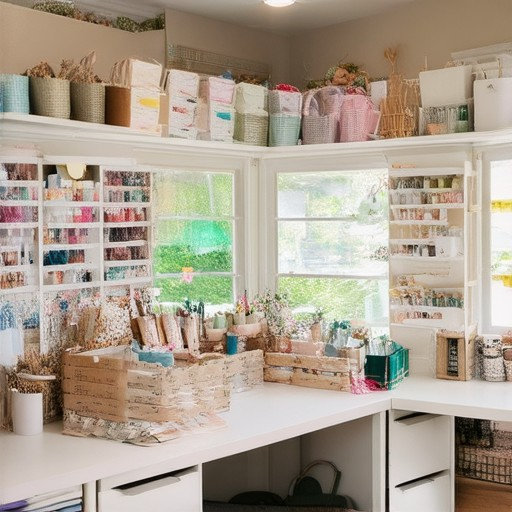
How to Set Up an Arts and Crafts Room
Setting up an arts and crafts room involves organizing your space efficiently to maximize creativity and functionality. Here’s a step-by-step guide to help you get started:
- 1. Choose a Suitable Space:** – Select a quiet area of your home that offers enough natural light and ventilation. Consider rooms like spare bedrooms, basements, or attics.
- 2. Clear the Space:** – Begin by decluttering the room. Remove unnecessary items and create a clean foundation to work with.
- 3. Organize Storage Solutions:** – Install cabinets or shelves to store art supplies neatly. Use open shelves for easily accessible items like paints, brushes, and scissors.
- 4. Create a Workspace:** – Designate a central area for your primary crafting activities. Use a sturdy table or desk for drawing, painting, or assembling projects.
- 5. Add Lighting:** – Ensure adequate lighting. Use a combination of natural light during the day and task lighting, such as LED lamps, for detailed work.
- 6. Protect Surfaces:** – Cover your floors with drop cloths or plastic sheeting to protect against spills and messes. Consider using disposable tablecloths for temporary surfaces.
- 7. Secure Walls:** – Install hooks, pegboards, or Murphy boards to display finished artwork or store extra supplies securely.
- 8. Inspire Creativity:** – Decorate your space with motivational quotes, artwork, or nature-inspired elements to keep your creative energy flowing.
- 9. Ensure Comfort:** – Invest in a comfortable chair and an ergonomic stool. Consider adding soft rugs or acoustic panels to reduce noise and create a calming environment.
- 10. Optimize Layout:** – Plan your layout to minimize clutter. Use multi-functional furniture, like a rolling cart for storing supplies or a foldable table for additional workspace.
- 11. Prioritize Safety:** – Keep safety gear handy, such as art gloves, goggles, and face masks. Store flammable materials away from heat sources and keep a fire extinguisher nearby.
- 12. Incorporate Technology:** – Stay connected with high-speed internet for research and inspiration. Use a tablet or smartphone for accessing tutorials and reference materials.
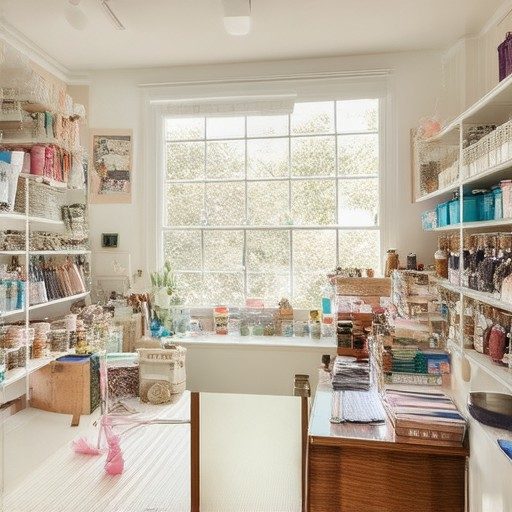
How to Organize a Craft Workshop
Organizing a craft workshop requires careful planning to ensure a successful event. Here’s a step-by-step guide to help you get started:
- Set Clear Goals
- Determine the purpose of the workshop, whether it’s to teach a specific skill or simply to foster creativity.
- Define the target audience and the expected outcomes.
- Select a Date and Time
- Choose a date that works for most attendees and avoids major conflicts.
- Consider the duration of the workshop, ensuring it’s long enough to cover the planned activities but not too lengthy to maintain attention spans.
- Choose a Venue
- Pick a location that is easily accessible and has adequate space for all participants and materials.
- Ensure the venue is equipped with necessary facilities, such as tables, chairs, and power outlets.
- Determine the Number of Participants
- Create a guest list based on available space and resources.
- Communicate the event details to potential attendees, including the date, time, and location.
- Create a Supply Checklist
- Compile a list of required materials, tools, and equipment needed for the workshop activities.
- Include safety gear, such as gloves and goggles, depending on the type of craft involved.
- Prepare Communication Materials
- Send out invitations via email or social media, providing all necessary details about the workshop.
- Share the workshop agenda beforehand to give participants a preview of the activities.
- Set Up the Workshop Space
- Arrange the venue to ensure it’s set up for comfort and functionality.
- Place all materials and tools in designated areas to keep the space organized.
- Develop a Workshop Schedule
- Outline the workshop timeline, including start and end times for each activity.
- Allow for breaks and transitions between sessions to maintain participant engagement.
- Establish Safety Guidelines
- Identify potential hazards and implement safety measures to protect participants.
- Review emergency procedures, such as fire exits and first aid availability.
- Provide Instructions and Examples
- Give clear instructions for each activity to ensure participants understand the tasks.
- Offer examples or demonstrations to inspire creativity and guide participants.
- End the Workshop with Feedback
- Conduct a brief review or Q&A session to gather feedback and discuss achievements.
- Thank participants for attending and express appreciation for their contributions.
- Clean Up Together
- Have participants help clean up the venue to leave it in great shape.
- Store any leftover materials or tools for future use.
How to Set Up a Craft Workshop
Setting up a craft workshop involves several steps to create a functional and organized space tailored to your creative needs. Here’s a step-by-step guide:
- Choose a Suitable Location
- Find a dedicated space in your home, such as a spare room, garage, or shed.
- Ensure the area has enough natural light and ventilation.
- Consider the accessibility of utilities like electricity and water.
- Clean and declutter the chosen area.
- Set up shelves, cabinets, and pegboards for storage.
- Install a sturdy workbench and ergonomic chairs.
- Install fluorescent lighting for bright, consistent illumination.
- Add task lighting for focused work areas.
- Consider motion sensor lights for added security.
- Install electrical outlets along the walls.
- Run new circuits if necessary for safety.
- Keep extension cords organized and away from walkways.
- Store small tools in a tool chest or drawer.
- Hang larger tools on walls or shelves.
- Label bins and containers for easy access.
- Install smoke detectors and carbon monoxide alarms.
- Keep a fire extinguisher nearby.
- Wear protective gear like dust masks, goggles, and hearing protection.
- Purchase essential tools like a drill, saw, and sander.
- Invest in a table saw or bandsaw for woodworking.
- Consider welding tools for metalwork.
- Use a clipboard and measuring tape for quick access.
- Set up a waste bin and recycling system.
- Utilize a magnetic strip for tool organization.
- Adjust your workbench height for comfortable working.
- Use ergonomic stools or chairs.
- Practice proper posture and take regular breaks.
- Install insulation for temperature control.
- Set up a heating system for cold weather.
- Network with local craft groups for support and resources.
- Take photos of completed projects.
- Keep a journal of materials used and techniques tried.
- Update a project portfolio regularly.
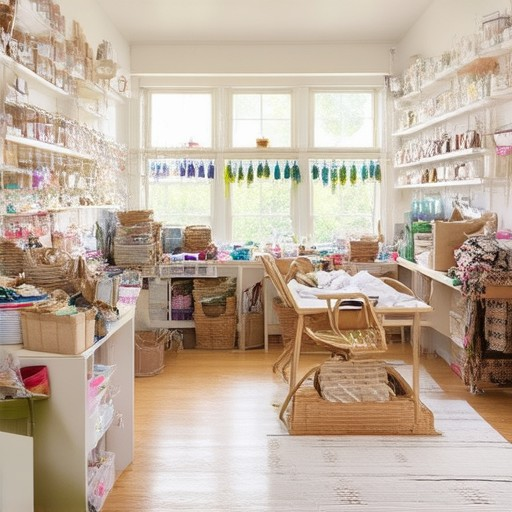
How to Structure a Creative Workshop
To organize a successful creative workshop, follow these steps:
- Define Your Objective
- Select the Right Venue
- Set the Date and Time
- Create a Detailed Agenda
Start by clarifying the purpose of your workshop. Are you aiming to inspire creativity, teach a specific skill, or foster collaboration among attendees?
Choose a location that aligns with your theme. Consider factors like accessibility, amenities, and available resources.
Pick a date that works for your target audience and confirm the venue well in advance. Send out invitations with clear details about the schedule.
- Break the workshop into sessions with specific topics or activities.
- Incorporate interactive elements like exercises, brainstorming sessions, and group discussions.
- Allocate time for breaks and networking opportunities.
- Gather supplies like stationery, projectors, and handouts.
- Print schedules and participant lists in advance.
- Have backup equipment on hand in case of technical issues.
- Share the event details on social media platforms.
- Distribute flyers or emails to your network and partners.
- Collaborate with influencers or organizations to increase visibility.
Encourage attendees to share their ideas and provide constructive feedback throughout the session.
- Review key takeaways and discuss next steps.
- Distribute any additional resources or materials.
- Collect feedback to improve future workshops.
End the day with a casual networking session or a group dinner to strengthen relationships.
By following these steps, you can create a structured and engaging creative workshop that meets your goals and leaves attendees inspired and motivated.



0 Comments