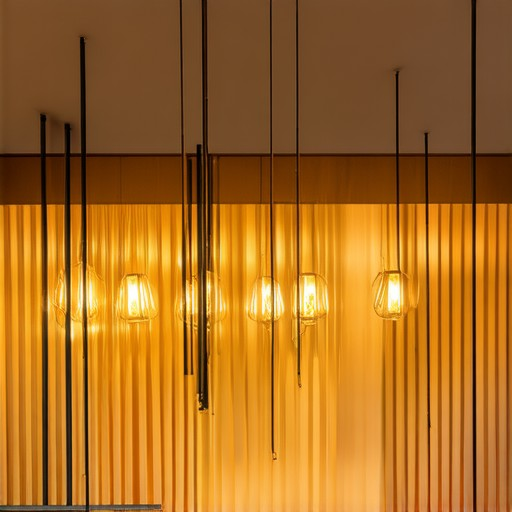
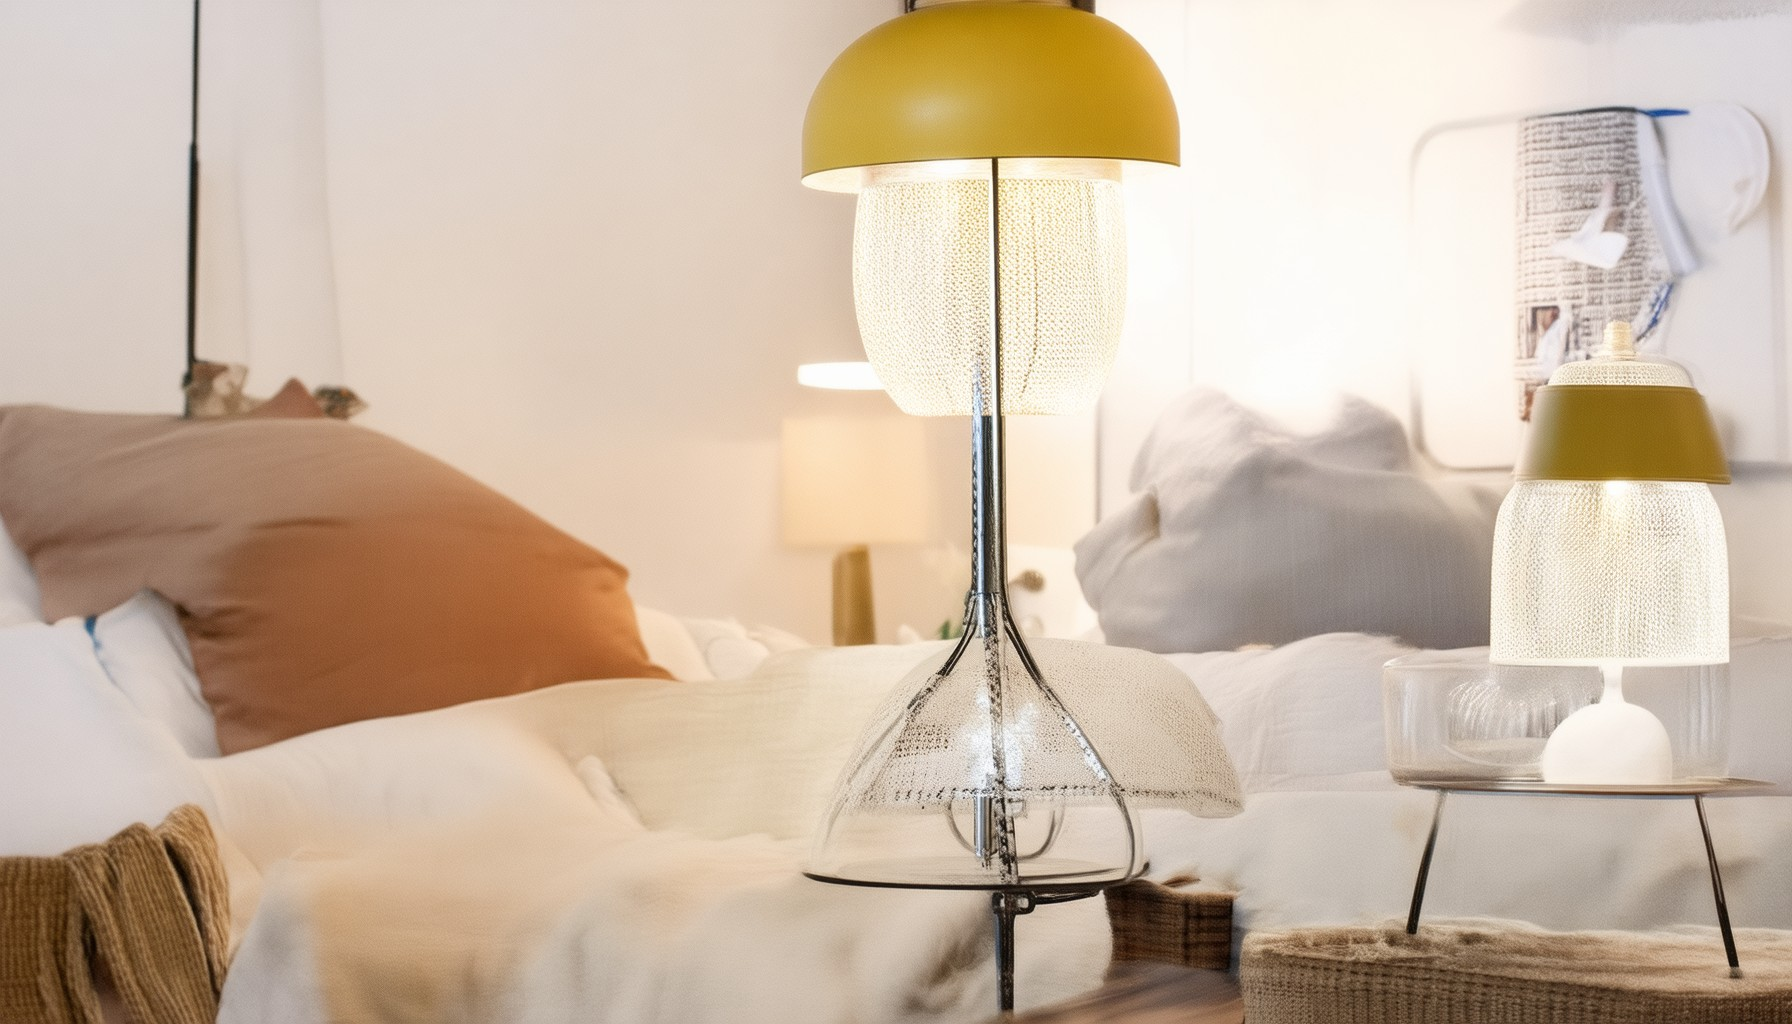
Transform your home into a haven of style and functionality with DIY lighting fixtures that effortlessly elevate your space. Whether you’re aiming to refresh a room or add a unique touch, crafting your own lighting solutions offers a personalized approach that aligns with your aesthetic and budget. From sleek modern designs to cozy rustic vibes, DIY lighting fixtures allow you to tailor every detail, ensuring your space reflects your personality. Discover how to illuminate your environment with creativity and ease, exploring everything from basic installation tips to innovative ideas that will leave your guests in awe. Get ready to unlock the potential of your home’s ambiance with DIY lighting fixes that are both practical and stunning.

Do you need to be an electrician to install a light fixture?
Installing a light fixture can be done by anyone with basic electrical knowledge, though it’s often recommended to hire a licensed electrician for safety and compliance, especially in cases involving complex wiring or fixtures. Here’s a breakdown of your options:
- DIY Installation : If you’re comfortable with basic electrical work, you can typically install a light fixture yourself. Tools like a screwdriver, voltage tester, and wire stripper are essential. However, this requires understanding local building codes and safely handling electricity.
- Hiring a Professional : For added peace of mind and to ensure proper installation, consider contacting a licensed electrician. They handle all aspects, from wiring to compliance checks, which can save you time and reduce the risk of electrical issues.
For more DIY project ideas and home renovation tips, visit Peck and Gartner .
How to Light a Room with No Light Fixture
To effectively light a room without existing light fixtures, consider the following organized approach:
- Floor Lamps : Opt for tall floor lamps with diffused shades to create a gentle, even glow, providing ambient lighting suitable for larger rooms.
- Table Lamps : Use table lamps placed on consoles, buffets, or shelves to add task lighting, focusing illumination on specific areas like reading or working.
- Wall-Mounted Sconces : Install wall-mounted sconces for focused light along the walls, strategically placing them to avoid shadows and enhance illumination.
- Extension Cords : As a temporary solution, use extension cords to plug in additional lamps, ensuring they are placed safely and neatly.
- Battery-Powered Lights : Utilize battery-powered lights for areas without easy access to power, offering portability and convenience.
- String Lights : Draped over furniture or hung from the ceiling, string lights provide a cozy ambiance, ideal for accentuating specific areas.
- Natural Light : Maximize daylight by opening curtains or blinds to supplement artificial lighting, especially during daytime hours.
For optimal results, combine these methods to achieve balanced lighting, ensuring even distribution and minimizing shadows. Consider consulting a professional electrician to handle electrical installations safely and legally.

How to Install a Ceiling Light Without Existing Wiring
Installing a ceiling light without existing wiring requires careful planning and attention to detail. Here’s a step-by-step guide to help you through the process:
- Assess Your Ceiling Structure: Start by checking the condition of your ceiling. Ensure it’s sturdy enough to support the weight of the light fixture. If you’re unsure, consult a professional.
- Determine the Location for Your Light: Choose where you want the light fixture installed. Mark the location accurately to ensure it aligns with your needs, such as over a bed, desk, or living area.
- Select the Right Fixture: Decide between traditional incandescent, LED, or compact fluorescent lights (CFL). LED lights are energy-efficient and long-lasting, while CFLs are known for their longevity and color accuracy.
- Prepare the Wiring: Cut the necessary holes in the ceiling to access the electrical box. Use a stud finder to locate any existing electrical wires to avoid damaging them. If there are no wires, run new Romex cable according to local building codes.
- Connect the Wires: Attach the live, neutral, and ground wires appropriately. Use a voltage tester to confirm correct grounding to prevent electrical hazards. Proper wire connections are critical for safe operation.
- Install the Mounting Brackets: Secure the mounting brackets to the ceiling. Ensure they are tightly fastened to support the weight of the light fixture.
- Attach the Light Fixture: Carefully mount the selected light fixture to the brackets. Secure any caps or trim pieces to cover the mounting hardware.
- Turn On the Power: Connect the light fixture to the electrical source. Flip the switch to activate the power and test the light to ensure it functions properly.
Always prioritize safety when handling electrical installations. If you’re unsure about any step, consider consulting a licensed electrician to avoid potential risks. By following these guidelines, you can successfully install a ceiling light without existing wiring in your home.

Adding Light to Your Room Without Electricity
There are several effective ways to illuminate your room without relying on electricity:
- Candles : Safe when used with caution, candles provide a warm, cozy glow. Keep them away from flammable materials and use sturdy holders to prevent tipping or fire hazards.
- Battery-Powered Lights : LED bulbs or small lights powered by batteries are safe and low-voltage, making them ideal for any room. Consider their battery life and cost-effectiveness for extended use.
- Solar-Powered Lights : Ideal for rooms with ample sunlight, these lights charge during the day and emit light at night. They are eco-friendly but may require consistent sunlight for optimal charging.
- Glow Sticks or Glow-in-the-Dark Accessories : Portable and soft, these options are great for temporary or specific lighting needs, though they may not cover large spaces effectively.
- Emergency Lights or Flashlights : While primarily for focused lighting, these can serve as ambient lights, though they may cast shadows. They are reliable for power outages.
- Lanterns with Built-In Batteries and LED Strips : Stylish and offering soft light, these lanterns are a modern solution, though they may be pricier upfront.
- Combination of Methods : Mixing battery-powered lights for task areas with solar accents can create a versatile and visually appealing ambiance, catering to different lighting zones.
Considerations : Safety is key, especially with candles. Budget, ease of setup, and decor style influence the best choice. Battery-powered options offer safety and reliability, while candles and lanterns enhance mood. Solar solutions are sustainable but dependent on sunlight.
Choose based on your specific needs and preferences to create the desired atmosphere in your room.
How to Add Lights to a House With No Wiring
- Install Solar-Powered Lights
Solar-powered string lights are an excellent option for areas with little to no wiring access. These lights rely on sunlight during the day to charge a built-in battery, providing illumination in the evenings. Simply mount the lights along walls, fences, or eaves and let the sun do the work. - Battery-Operated String Lights
Use battery-operated LED fairy lights or string lights. These lights typically run on small, rechargeable batteries and can be easily installed without any wiring. They are ideal for decks, patios, or garden areas. - Motion-Activated Lights
Install motion-activated lights in areas prone to darkness, such as near entrances, windows, or around the property. These lights turn on automatically when movement is detected, providing secure illumination without the need for traditional wiring. - Plug-In Lights with Extension Cords
While technically requiring a power source, plug-in lights can be made wireless by using extension cords that connect to existing outlets. This method is ideal for temporary lighting solutions or for areas where you want to avoid permanent wiring changes. - Fiber Optic Lights
For a more decorative touch, consider fiber optic lights. These lights can be powered by a small battery pack and installed along walls or ceilings. They create a colorful, vibrant display and are a great addition to entertainment areas or children’s bedrooms. - Wireless Switches
Add wireless switches near light fixtures or along walls. These switches allow you to control the lights remotely, eliminating the need for complex wiring. They are perfect for areas where you want to enjoy convenient lighting adjustments.

What is a Flush Mount?
A flush mount is a method of attaching objects, such as picture frames, shelves, or decorative items, to a surface in a way that the mounted object lies perfectly flush with the surrounding area. This technique creates a seamless appearance, making the mounted item appear as though it is part of the surface itself rather than attached separately.
How Flush Mounts Work
Flush mounts typically involve the use of specialized hardware or materials that allow for secure attachment without visible fasteners. Common materials used in flush mounts include:
- Cleco Plates : These are thin, metal plates with adhesive backing that are used to temporarily hold parts together during assembly. They can also be used for permanent flush mounting.
- Wood Inserts : Wooden strips or blocks with pre-drilled holes can be used to mount objects flush to a surface, offering a smooth and professional finish.
Applications of Flush Mounts
Flush mounts are widely used in various industries, including:- Furniture Assembly : Attaching drawer fronts, shelves, or decorative panels without visible screws.- Picture Framing : Hanging artwork or photos directly onto a wall in a flush manner.- Electronics : Securing panels or components to surfaces.- Marine Applications : Mounting instruments or controls on boat dashboards.
Steps to Install a Flush Mount
- Prepare the Surface : Clean and ensure the surface is free of dust, grease, or rough spots.
- Apply Adhesive : Use a high-quality adhesive suited for the material being mounted.
- Insert the Flush Mount : Align the mount precisely over the prepared surface and press firmly to secure it in place.
Benefits of Flush Mounts
- Sleek Appearance : Provides a polished look by eliminating visible hardware.
- Strong and Durable : Many flush mount systems are designed to withstand heavy loads.
- Versatility : Suitable for a wide range of materials and applications.
By using flush mounts, you can create a more aesthetically pleasing and functional solution for attaching objects to surfaces.


0 Comments