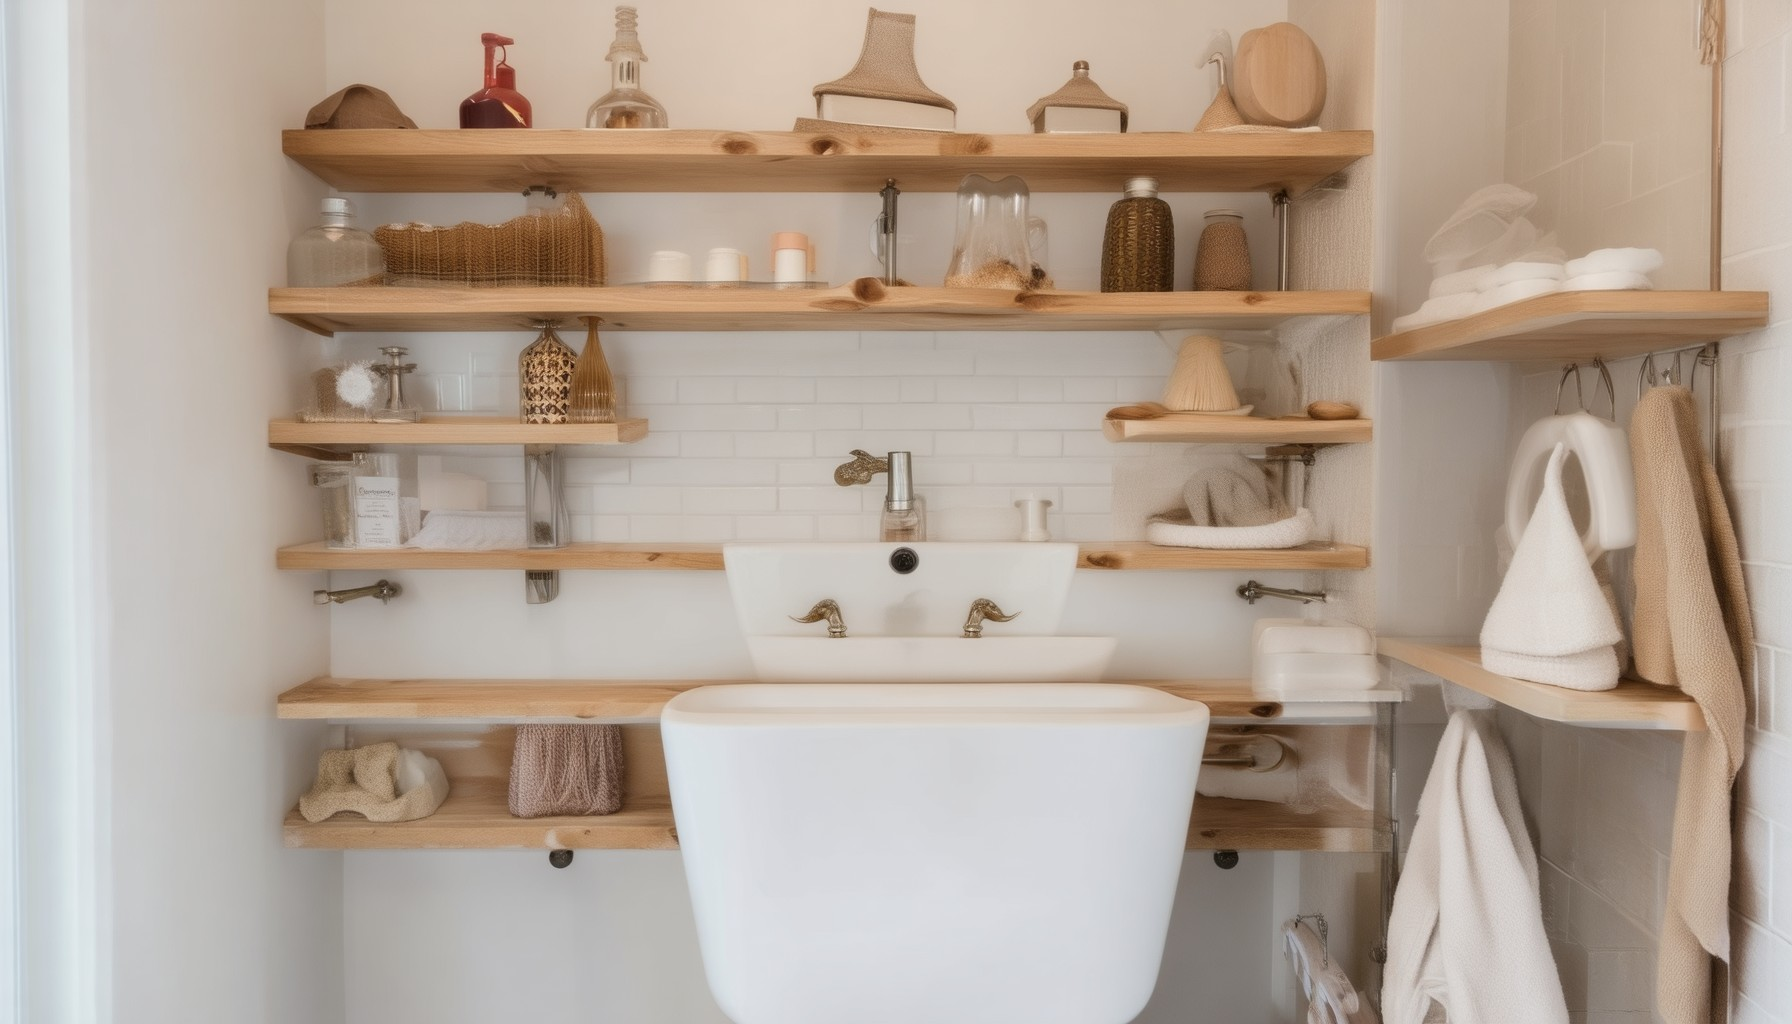
Transform your bathroom into a more organized and stylish space with DIY bathroom shelving ideas that maximize space and add a personalized touch. Whether you’re aiming to save money or customize your storage solutions, DIY shelving offers a budget-friendly alternative to store-bought units. With a few simple tools and creative designs, you can create shelving that fits your unique needs, enhances your bathroom decor, and provides ample storage for towels, toiletries, and other essentials. Perfect for small spaces or large bathrooms, DIY shelving allows you to tailor your setup to match your style and lifestyle, turning an ordinary bathroom into a clutter-free retreat.
Key Takeaways
- Maximize Bathroom Space: Transform your bathroom with custom DIY shelving solutions that efficiently utilize every inch of space.
- Cost-Effective Solution: Save money while enhancing your bathroom’s functionality with affordable, customizable shelving ideas.
- Durable and Stylish: Choose from various materials like wood, metal, or plastic to create long-lasting, stylish shelving that fits your decor.
- Proper Measurement Matters: Accurately measure and plan your shelf placements to ensure stability and functionality.
- Add Decorative Flair: Customize your shelves with paint, stains, or decorative elements like hooks and baskets.
- Boost Organization: Say goodbye to clutter with well-organized, tiered shelving designed for efficient storage.
- Long-Term Savings: Enjoy the financial and space-saving benefits of DIY solutions while maintaining ease of maintenance.
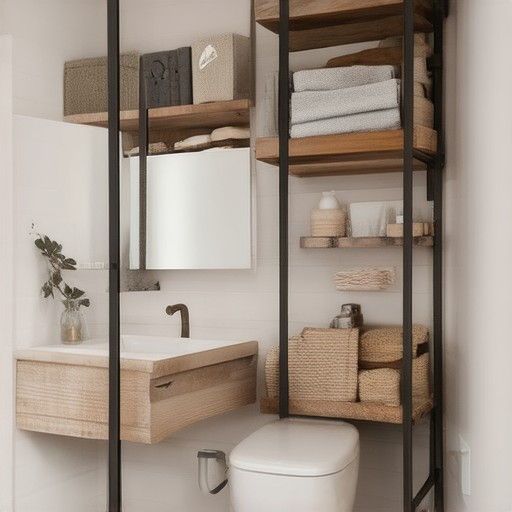
How to Create Effective DIY Bathroom Shelving
Creating effective DIY bathroom shelving involves careful planning, measurement, and attention to detail. Here’s a step-by-step guide to help you achieve a sturdy and functional solution:
- Measure the Space : Start by assessing the dimensions of your bathroom wall or cabinet where the shelving will be installed. Mark the locations precisely using a pencil for accuracy.
- Select Materials : Choose durable materials like wood, metal, or plastic based on the weight the shelves will bear. Opt for water-resistant finishes to accommodate the moist environment.
- Determine Shelf Placement and Number : Decide on the number of shelves and their tiers. Calculate spacing to ensure stability and functionality. Consider using a spirit level for precision.
- Choose Brackets : Use sturdy metal brackets for added security. Explore innovative alternatives if available, ensuring they match the shelf design and weight capacity.
- Cut and Prepare Materials : Use a saw or jigsaw to cut materials to size. Sand edges to prevent splinters and ensure smooth surfaces.
- Apply Finish : Paint or stain the shelves with water-based sealants or lacquers to enhance durability and aesthetics.
- Mount Shelves Securely : Attach brackets firmly with lag bolts. Hang shelves at an appropriate height for balance and reachability. Test stability by shifting items slightly.
- Add Decorative Elements : Enhance storage with hooks or baskets, ensuring they complement the shelf design without compromising functionality.
- Maintain Regularly : Clean shelves regularly and inspect for wear to extend their lifespan. Ensure hardware remains secure and tight to prevent damage.
By following these steps, you can create a practical and visually appealing DIY bathroom shelving solution tailored to your needs. Keep safety in mind, especially when drilling into walls, and consider using a stud finder for secure mounting. Plan thoroughly and enjoy the rewarding outcome!
Effective Ways to Create DIY Bathroom Shelving
Creating DIY bathroom shelving can be a cost-effective and personalized solution to optimize your bathroom storage. Here are some proven strategies to build sturdy and stylish shelves:
- Material Selection: Choose from wood, metal, or plastic. Wood offers durability and aesthetic appeal, while metal is lightweight and rust-resistant. Plastic is ideal for moisture-prone areas.
- Measure Accurately: Use a tape measure to determine the wall space. Account for the height and width of your bathroom essentials to ensure the shelves fit perfectly.
- Bracket Choice: Select from tension rods, adhesive brackets, or suction cups. Tension rods are great for temporary installations, while adhesive brackets provide a stable, permanent solution. Suction cups work well for tiled surfaces.
- Design and Placement: Opt for open shelves or cabinets to match your bathroom decor. Install shelves at varying heights to maximize vertical space efficiently.
- Installation Methods: For tension rods, simply attach and adjust. Adhesive brackets may require drilling and waiting for adhesives to set. Ensure shelves are securely mounted to handle bathroom humidity and weight.
- Add Functional Features: Enhance shelves with shelf brackets or dividers for added organization. Consider decorative elements like baskets or trays for a polished look.
- Safety First: Use waterproof materials and ensure shelves are securely fastened to withstand moisture and impact. Regularly inspect for stability and security.
- Finishing Touches: Paint or stain wood to match your bathroom decor. Keep finishes smooth and cleanable for long-lasting beauty.
For detailed instructions and product recommendations, explore our DIY Home Projects guide. Discover expert tips and step-by-step guides to transform your bathroom storage effortlessly.
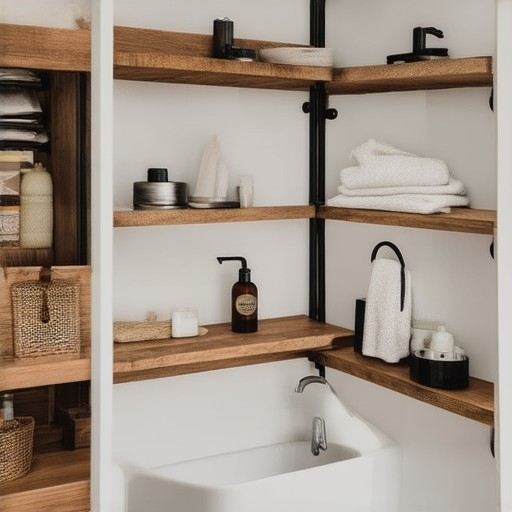
How to Create Effective DIY Bathroom Shelving
Creating effective DIY bathroom shelving involves careful planning, measurement, and attention to detail. Here’s a step-by-step guide to help you achieve a sturdy and functional solution:
- Measure the Space : Start by assessing the dimensions of your bathroom wall or cabinet where the shelving will be installed. Mark the locations precisely using a pencil for accuracy.
- Select Materials : Choose durable materials like wood, metal, or plastic based on the weight the shelves will bear. Opt for water-resistant finishes to accommodate the moist environment.
- Determine Shelf Placement and Number : Decide on the number of shelves and their tiers. Calculate spacing to ensure stability and functionality. Consider using a spirit level for precision.
- Choose Brackets : Use sturdy metal brackets for added security. Explore innovative alternatives if available, ensuring they match the shelf design and weight capacity.
- Cut and Prepare Materials : Use a saw or jigsaw to cut materials to size. Sand edges to prevent splinters and ensure smooth surfaces.
- Apply Finish : Paint or stain the shelves with water-based sealants or lacquers to enhance durability and aesthetics.
- Mount Shelves Securely : Attach brackets firmly with lag bolts. Hang shelves at an appropriate height for balance and reachability. Test stability by shifting items slightly.
- Add Decorative Elements : Enhance storage with hooks or baskets, ensuring they complement the shelf design without compromising functionality.
- Maintain Regularly : Clean shelves regularly and inspect for wear to extend their lifespan. Ensure hardware remains secure and tight to prevent damage.
By following these steps, you can create a practical and visually appealing DIY bathroom shelving solution tailored to your needs. Keep safety in mind, especially when drilling into walls, and consider using a stud finder for secure mounting. Plan thoroughly and enjoy the rewarding outcome!
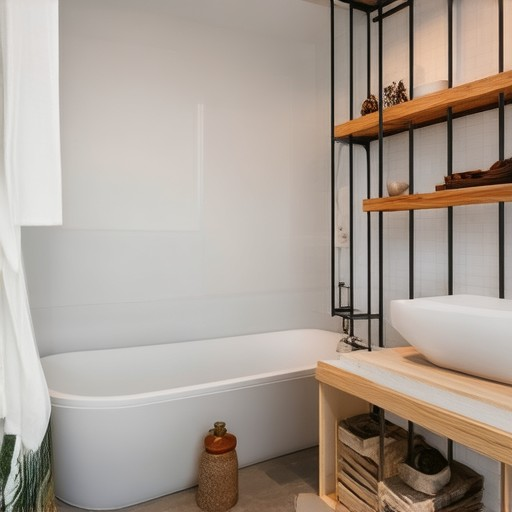
How to Create Custom DIY Bathroom Shelving
Creating custom DIY bathroom shelving involves several key steps, from selecting materials to securely installing them. Here’s a detailed guide:
- Choose Materials: Select wood, metal, or plastic shelves based on your preferred style and durability needs. Wood is a popular choice due to its versatility and aesthetic appeal.
- Measure and Plan: Identify the optimal positions on your bathroom walls by locating studs using a stud finder. Mark these spots and determine shelf spacing according to your storage requirements.
- Cut and Prepare Materials: Use a saw to cut wood pieces to the required lengths. Sand edges thoroughly to eliminate splinters and ensure smooth surfaces.
- Secure Shelves: Attach shelves to the wall using sturdy brackets and screws. Ensure they are tightly secured to support the weight without wobbling.
- Paint or Decorate: Apply paint or stain to customize the shelves’ appearance. Consider adding decorative elements like hooks or baskets for functionality and visual interest.
- Organize and Enjoy: Arrange stored items neatly on your shelves for maximum efficiency. Take pride in your creation and admire the improved bathroom organization!
For a seamless experience, consider using a level tool and seek assistance when needed. Prioritize safety with protective gear and refer to tutorials for installation tips. With careful planning and execution, your custom bathroom shelving will enhance both functionality and aesthetics in your space.
How to Create Effective DIY Bathroom Shelving
Creating effective DIY bathroom shelving involves careful planning, measurement, and attention to detail. Here’s a step-by-step guide to help you achieve a sturdy and functional solution:
- Measure the Space : Start by assessing the dimensions of your bathroom wall or cabinet where the shelving will be installed. Mark the locations precisely using a pencil for accuracy.
- Select Materials : Choose durable materials like wood, metal, or plastic based on the weight the shelves will bear. Opt for water-resistant finishes to accommodate the moist environment.
- Determine Shelf Placement and Number : Decide on the number of shelves and their tiers. Calculate spacing to ensure stability and functionality. Consider using a spirit level for precision.
- Choose Brackets : Use sturdy metal brackets for added security. Explore innovative alternatives if available, ensuring they match the shelf design and weight capacity.
- Cut and Prepare Materials : Use a saw or jigsaw to cut materials to size. Sand edges to prevent splinters and ensure smooth surfaces.
- Apply Finish : Paint or stain the shelves with water-based sealants or lacquers to enhance durability and aesthetics.
- Mount Shelves Securely : Attach brackets firmly with lag bolts. Hang shelves at an appropriate height for balance and reachability. Test stability by shifting items slightly.
- Add Decorative Elements : Enhance storage with hooks or baskets, ensuring they complement the shelf design without compromising functionality.
- Maintain Regularly : Clean shelves regularly and inspect for wear to extend their lifespan. Ensure hardware remains secure and tight to prevent damage.
By following these steps, you can create a practical and visually appealing DIY bathroom shelving solution tailored to your needs. Keep safety in mind, especially when drilling into walls, and consider using a stud finder for secure mounting. Plan thoroughly and enjoy the rewarding outcome!
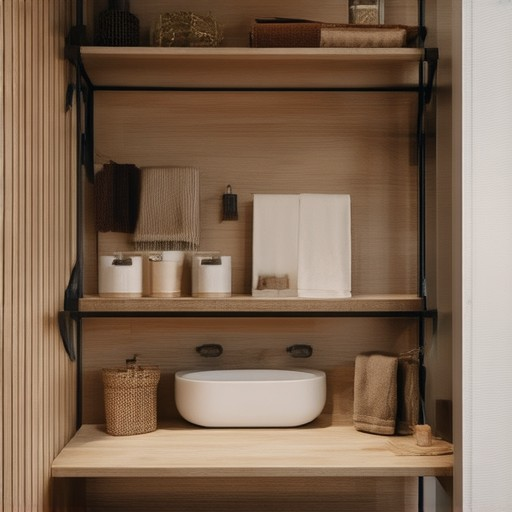
How to Create Effective DIY Bathroom Shelving
Creating effective DIY bathroom shelving involves several key steps to ensure durability, functionality, and aesthetic appeal. Below is a comprehensive guide to help you accomplish this task successfully.
Step 1: Measure the Space
Before beginning, measure the available space on your bathroom walls or cabinets where the shelves will be installed. Use a tape measure to determine the width and height of the surface. Mark the measurement with a pencil for accurate placement.
Step 2: Choose Materials
Select materials that are durable and resistant to moisture. Wood is a popular choice due to its strength and versatility. Other options include metal, plastic, or composite materials. Ensure the material can support the weight of items that will be stored on the shelves.
Step 3: Determine Shelf Arrangement
Decide on the number and arrangement of shelves. Consider factors like the height of the ceiling, the length of the wall, and the types of items you plan to store. Two-tiered shelves are a practical option, allowing you to maximize vertical space.
Step 4: Secure the Shelves Properly
Use brackets or adhesive strips to secure the shelves firmly to the wall. For added stability, combine both methods. Ensure that the brackets are screwed tightly into the wall studs for maximum support. If using adhesive strips, apply them evenly along the back of the shelf.
Step 5: Cut and Fit the Materials
Measure and cut the materials to fit the dimensions of the shelf locations. Sand the edges of the shelf and brackets to remove any splinters or sharp edges for safety. Apply a water-resistant sealant or primer to the surfaces to protect against moisture damage.
Step 6: Paint or Stain
Paint or stain the shelves to match your bathroom decor. Use a high-quality primer before painting to ensure adhesion, especially in a damp environment. Consider adding decorative elements like distressing for a unique look.
Step 7: Mount the Shelves
Mount wall-mounted shelves at a height of approximately 72 cm (28 inches), ensuring they are level and stable. For built-in shelves, align them flush with the wall or slightly recessed for a seamless appearance.
Step 8: Add Functional Features
Install shelf brackets or dividers to increase organization. Label dividers can help categorize items like towels, toiletries, and bath products. Optional features like lighting under the shelves can enhance functionality and aesthetics.
Step 9: Test Stability
Test the stability of the shelves by placing lightweight items on them. Ensure they remain secure and do not wobble. Adjust the position or tighten any loose screws if necessary.
Step 10: Final Touches and Maintenance
Clean the installation area and ensure the shelves look neat. Periodically check the tightness of the brackets and adjust as needed. Regular maintenance will extend the life and functionality of your DIY bathroom shelving.
By following these steps, you can create a functional and visually appealing DIY bathroom shelving solution tailored to your needs.



0 Comments