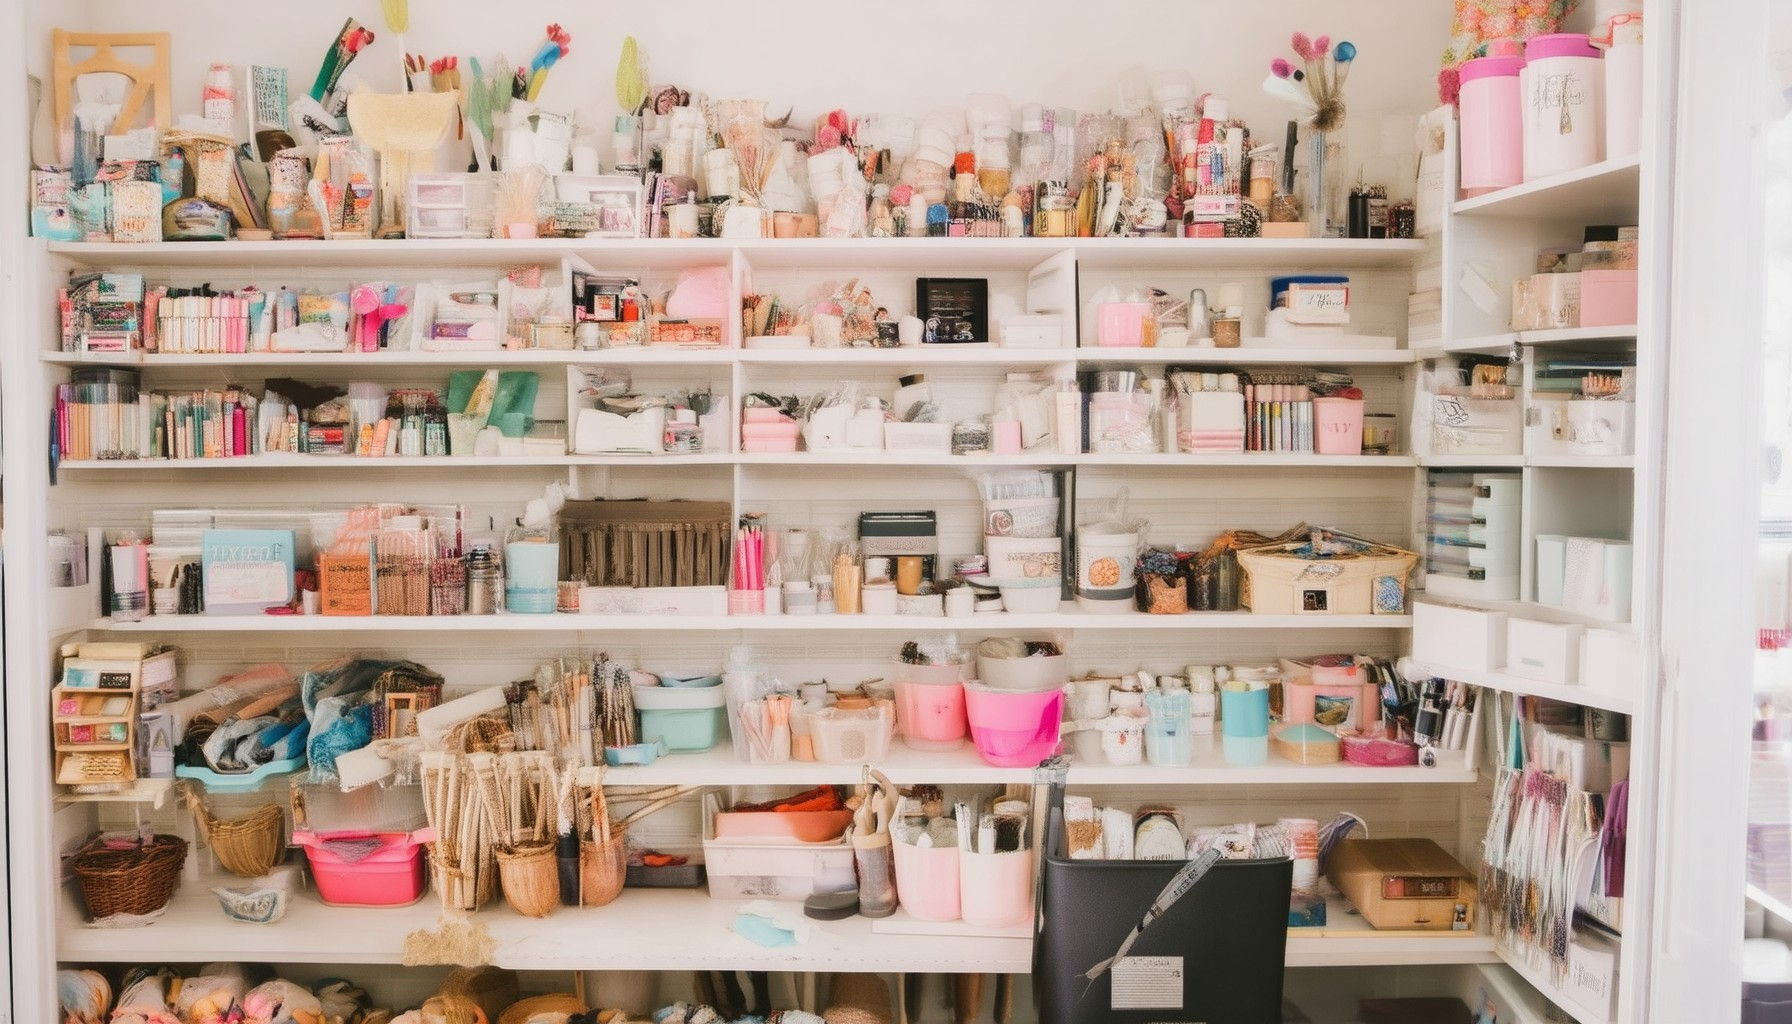
Transforming your craft room from a chaotic clutter zone into a serene, efficient workspace is a goal many crafters strive for. Whether you’re a seasoned creator or just starting your journey, organizing your craft room is essential for productivity, creativity, and peace of mind. With so many ideas floating around, it can be overwhelming to know where to begin. From decluttering strategies to smart storage solutions, this guide offers expert tips to help you create a craft room that works for you. By addressing common challenges and leveraging proven organizational techniques, we’ll walk you through the process of turning your messy space into a functional hub. Let’s dive into the steps that will help you reclaim your craft room and unlock your creative potential.
Key Takeaways: Transforming Your Craft Room
- Select the Right Location: Choose a safe, well-ventilated area with adequate lighting, away from moisture-prone spots and temperature fluctuations. Ensure natural light availability and consider additional task lighting for detailed work.
- Organize Supplies Efficiently: Use labeled bins and shelving units to store yarn, fabric, beads, and paints. Label containers for quick access and to prevent clutter.
- Ensure Security: Keep sharp tools and fragile items secure with drawer locks or wall-mounted storage. Consider wearing protective gear when handling chemicals.
- Optimize Lighting: Enhance natural light with task lamps and ensure focused illumination for detailed tasks to reduce eye strain.
- Incorporate Motivational Elements: Create an inspiration wall with motivational quotes, artwork, or samples of your work to keep the space energizing and positive.
- Utilize Vertical Storage: Implement pegboards, wall-mounted organizers, and hanging racks to store small items and free up floor space.
- Add Necessary Accessories: Invest in a larger waste bin, ergonomic chair, and adjustable seating for comfort and functionality.
- Budget-Friendly Solutions: Repurpose old furniture and use recycled materials to minimize costs while maximizing storage.
- Follow Safety Protocols: Keep fire extinguishers, first aid kits, and smoke detectors within reach for emergencies.
- Personalize Your Space: Decorate with a cozy chair and themed accents to create an inviting and reflective environment.
By prioritizing these steps, you can create a functional, inspiring, and enjoyable craft room that enhances your creative process.
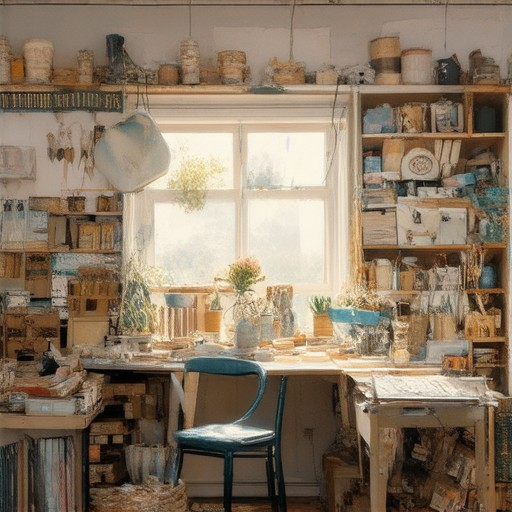
How to Start Organizing Your Craft Room
Organizing your craft room can seem daunting, but with a systematic approach, you can transform the space into a functional and inspiring environment. Here’s a step-by-step guide to help you get started:
- Declutter First: Begin by going through every item in your craft room. Separate belongings into three piles: keep, donate, and discard. This helps you streamline your space and focus on what truly matters.
- Categorize Your Supplies: Group similar items together. Create categories like fabrics, papers, tools, and finished projects. This makes it easier to find what you need and maintain order.
- Use Clear Labels: Label the bins or containers you use. This ensures everyone in the household knows where things go, reducing confusion and making the space more accessible.
- Implement Vertical Storage: Utilize wall-mounted shelves, pegboards, or cabinets to maximize vertical space. This is particularly useful for storing small items like scissors, rulers, or fabric swatches.
- Carve Out a Dedicated Workspace: Reserve a corner or section of the room for your primary craft activities. Keep surfaces clean and free of clutter, allowing you to work efficiently without distractions.
- Store Frequently Used Items Neatly: Place commonly used tools and materials within easy reach, such as on your desk or a nearby shelf. This reduces the likelihood of items being misplaced or lost.
- Improve Lighting and Layout: Ensure the room is well-lit to enhance visibility. Consider adding task lighting for specific areas. Also, arrange furniture and equipment in a logical flow to facilitate movement and accessibility.
- Manage Cables and Cordes: Tame unruly wires and cords by using cable management tools or trays. This not only keeps the space safer but also makes it more organized and visually appealing.
- Clean Up the Floor: Pick up any loose items and consider adding area rugs to define different zones within the room. This helps create a sense of order and makes the space feel more cohesive.
By following these steps, you can create a craft room that is both functional and aesthetically pleasing. Remember to regularly maintain your organization to prevent future clutter buildup. With a well-organized space, you’ll enjoy a more productive and enjoyable crafting experience!
How to Declutter Your Crafts?
Decluttering your crafts can feel overwhelming, but with a systematic approach, you can reclaim your space and streamline your creative process. Here’s a step-by-step guide to help you get started:
Step-by-Step Guide to Decluttering Your Crafts
- Categorize Your Supplies:** Start by grouping your crafting materials into categories. This helps you identify what you have and what you actually need. Consider categories like fabric, yarn, tools, and trinkets.
- Identify What You Don’t Use Often:** Go through each category and set aside items you haven’t used in the past six months. These are likely candidates for decluttering.
- Create a “Keep” and “Toss” Pile:** As you review your supplies, decide which items stay and which go. For the “toss” pile, donate or recycle items that are damaged or no longer useful.
- Organize Your Space:** Once you’ve narrowed down your supplies, find a storage solution that works for you. Use drawer organizers, shelves, or dedicated craft boxes to keep everything tidy.
- Plan for Future Projects:** Before settling on your final selection, think about upcoming projects. Keep only what you’ll realistically use next, whether it’s for a specific craft or general use.
Tips for Successfully Decluttering Your Crafts
- Be Honest With Yourself:** It’s okay to let go of items you never use. Your space deserves to be functional and inspiring.
- Consider Your Workflow:** Think about how you typically work and what tools or materials you reach for most often. Keep those close at hand and store less frequently used items elsewhere.
- Stay Consistent:** Decluttering is a process, not a one-time task. Set aside time regularly to review and organize your supplies.
<
By following these steps, you’ll not only declutter your crafts but also create a more organized and enjoyable workspace. Remember, a clean space leads to a clearer mind and more creative ideas!
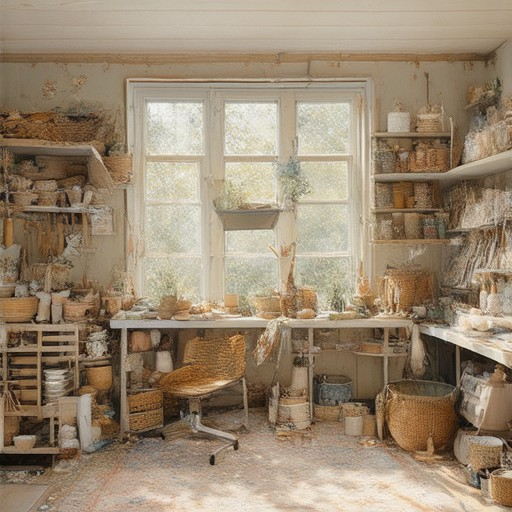
How to Keep Track of Your Craft Inventory
Keeping track of your craft inventory is essential for efficiently managing your supplies and ensuring you never run short on essentials. Here’s a step-by-step guide to effectively organizing and monitoring your craft inventory:
Best Practices for Tracking Your Craft Materials
- Regular Audits: Conduct a thorough inventory check at least once a month. This helps identify what you have, what you need, and what’s running low.
- Categorize Supplies: Group similar items together, such as fabrics, tools, and trims, to make it easier to locate everything during projects.
- Use a System: Implement a system for recording additions, usage, and losses. This can be as simple as a spreadsheet or as complex as a dedicated inventory management tool.
Tools and Software for Inventory Management
- Spreadsheets: Create a spreadsheet with columns for each category of materials, allowing you to track quantities and locations.
- Dedicated Apps: Use apps designed specifically for inventory management, such as Peck and Gartner’s inventory management solution .
- Cloud-Based Systems: Store your inventory data online for easy access and updates from anywhere.
Physical Organization Tips
- Shelf Labels: Clearly label shelves and bins to quickly identify what’s inside. This helps reduce the time spent searching for specific items.
- Bins and Baskets: Use labeled bins or baskets to store smaller items like screws, beads, or fabric scraps.
- Visual Cues: Place color-coded tags or labels on containers to make it easier to spot categories at a glance.
Stay Organized Year-Round
- Update Regularly: After each project, update your inventory to reflect what was used and what needs to be reordered.
- Consider Seasonality: Some materials may have seasonal demand, so adjust your inventory levels accordingly.
- Use Checklists: Create checklists for each project to ensure you have all necessary materials before starting.
Why Proper Inventory Management Matters
Effective inventory management saves time, reduces stress, and ensures you’re always prepared for your next project. By staying organized and regularly updating your records, you can minimize waste and maximize the efficiency of your crafting workflow.
Need More Guidance? Explore These Resources
- Craft Organization Tips – Learn how to optimize your workspace and streamline your supply management.
- Inventory Management Guide – Discover the best practices for keeping your craft supplies in order.
- Project Planning Tools – Plan your projects confidently with our expert recommendations.
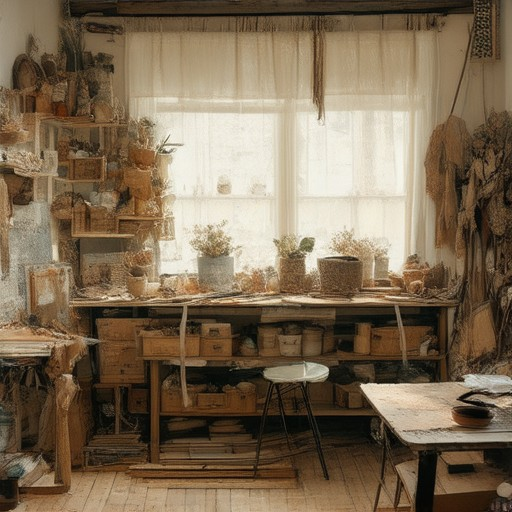
How to Set Up a Crafting Area
To create an effective and organized crafting area, follow these steps:
- Choose the Right Location : Select a safe, well-ventilated space with adequate lighting. Avoid areas prone to moisture or temperature fluctuations.
- Organize Your Supplies : Use shelving units, bins, or cabinets to store materials. Label containers for easy access and to prevent clutter.
- Secure Your Workspace : Keep sharp tools and fragile items in secure locations. Use safety measures like drawer locks or wall-mounted storage.
- Optimize Lighting : Ensure the area has natural light. Add task lighting or a desk lamp for detailed work.
- Consider Safety Features : Place fire extinguishers, first aid kits, and smoke detectors within reach.
- Create an Inspiration Wall : Display motivational quotes, inspiring images, or samples of your work to keep creativity flowing.
- Utilize Vertical Storage : Save space with pegboards, wall-mounted organizers, or hanging racks for tools and materials.
- Add Necessary Accessories : Include a waste bin, ergonomic chair, and adjustable seating for comfort during long projects.
- Budget-Friendly Solutions : Repurpose old furniture or use recycled materials to minimize costs while maximizing functionality.
- Follow Safety Guidelines : Handle chemicals and tools carefully, wearing protective gear as needed.
- Personalize Your Space : Add decorative elements like a cozy chair or themed accents to make the area inviting and reflective of your personality.
By planning thoughtfully and staying organized, you can create a crafting area that enhances your creative process and accommodates your unique needs.
Best Ways to Organize a Craft Room
Creating a well-organized craft room can significantly enhance your creative workflow and efficiency. Here are some expert tips to help you maximize space and functionality:
- Start with a Plan
- Assess your current space and identify areas that need organization.
- Measure the room to determine the best layout for your tools and supplies.
- Maximize Vertical Space
- Install floating shelves or open shelving units to store small items like beads, yarn, and fabric.
- Use wall-mounted bins or baskets for quick access to frequently used materials.
- Optimize Horizontal Space
- Set up long, low shelves along the floor for storing larger items like craft boxes, scrapbooking supplies, or holiday decorations.
- Utilize the space beneath benches or tables for additional storage.
- Choose the Right Storage Solutions
- Invest in labeled bins or containers to keep similar items together.
- Use drawer organizers for small parts like screws, nails, or ribbon.
- Consider vertical file holders for patterns, templates, and blueprints.
- Categorize and Group Items
- Group similar items together, such as fabrics, papers, or tools.
- Keep frequently used items within easy reach, while storing less often accessed items out of sight.
- Use Every Nook and Cranny
- Turn empty corners or alcoves into storage spots with small cabinets or baskets.
- Install pegboards or command strips for hanging tools and accessories.
- Regular Maintenance
- Clean and tidy your craft room regularly to prevent clutter buildup.
- Update your storage solutions as your needs evolve to keep the space functional.
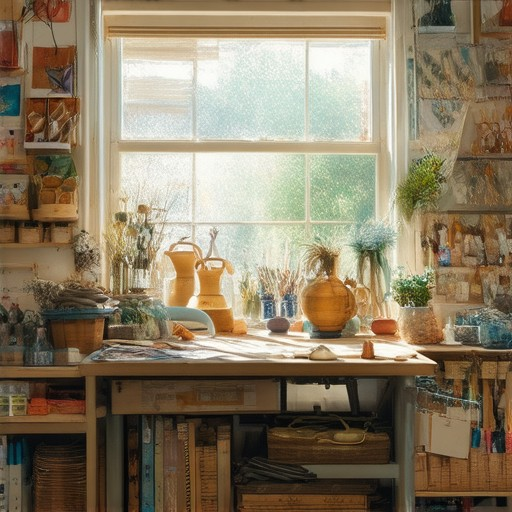
What Are the Best Ways to Organize a Craft Room?
Organizing a craft room can feel overwhelming, but with the right strategy, it becomes manageable. Here are some effective tips to help you create a clutter-free and functional workspace:
1. Assess Your Current Space
- Start by evaluating what you currently have in your craft room. Identify tools, materials, and supplies that are essential and those that can be stored or discarded.
- Measure the room to determine the best layout for your crafting equipment and materials. Consider using floor plans or diagrams to visualize the space.
- Invest in a storage solution that fits your needs. Use drawer organizers, shelves, or cabinets to keep items neatly stored.
2. Create a System for Supplies
- Group similar items together. For example, keep all fabric in one area, beads in another, and paints in a separate section.
- Use labels on containers to make it easier to find items quickly. This helps reduce frustration during projects.
- Consider using digital tools like apps or spreadsheets to track inventory, especially for large collections of supplies.
3. Optimize Storage Solutions
- Utilize vertical space with wall-mounted shelves or pegboards. This is particularly useful for storing tools and materials that don’t require flat surfaces.
- Install drawer systems in cabinets to store small items like scissors, tape, and markers. Label each drawer for quick access.
- Repurpose old boxes or containers as storage units. Clean them out and use them to organize smaller items like yarn or ribbon.
4. Keep the Workspace Clean
- Establish a cleaning routine. Dedicate a few minutes daily to pick up items and return them to their proper places.
- Regularly purge items that are no longer needed. This prevents clutter from accumulating over time.
- Use waste baskets strategically placed around the room for temporary storage of scraps, packaging, or unused materials.
5. Maximize Functionality
- Set up a dedicated work area for specific tasks. For example, create a sewing station, a scrapbooking corner, or a crafting table.
- Consider lighting that provides adequate illumination for detailed work. Use task lights or adjust overhead lights accordingly.
- Evaluate ergonomics. Ensure chairs and tables are comfortable and at the right height for your activities to prevent strain.
6. Stay Inspired and Organized
- Display motivational quotes or artwork that inspire your creativity. This can also act as a reminder to keep the space tidy.
- Use a shared calendar or planner to track upcoming events, deadlines, or class schedules related to your crafts.
- Take breaks regularly to avoid burnout. A fresh perspective can help maintain organization and efficiency.
Conclusion
A well-organized craft room enhances productivity and reduces stress. By implementing these strategies, you can create a space that is both functional and inspiring. Remember to regularly evaluate and adjust your setup to suit your evolving needs and projects.



0 Comments